PRODUCTS REQUIRED
-
Screwdriver - To remove any staples hiding the edge of the leather
-
sharp Knife - Used to cut a sample of the leather
-
Hammer - To replace the staples once you are finished.
METHOD
STEP 1. PREP THE ITEM
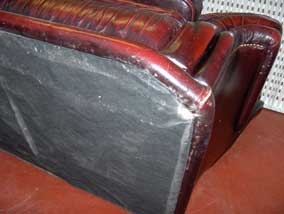
To cut a sample of leather from your sofa to send to us, there are two places you can get it from. The first is from the bottom of the sofa. Turn the sofa onto its side or back as shown in the picture and you will see a cloth stapled to the framework.
STEP 2. REMOVE SOME STAPLES
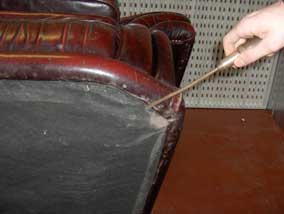
There is always an overhang of leather beneath the cloth. Using a screw driver or other sharp object, leaver out several staples and then peel back the cloth.
STEP 3. REMOVE SOME MORE STAPLES
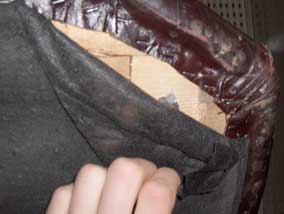
You will then see (as shown) an overhang of leather stapled to the framework. Again, you will need to pluck out the staples.
STEP 4. REMOVE A PIECE OF LEATHER
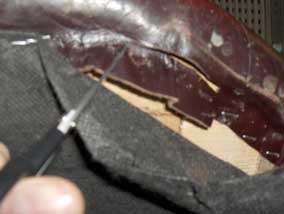
After removing the staples cut a piece of leather from the overhang.
It has to be bigger than a 5p, if you cannot get something that big then send us as many small pieces as you can.
Remember: The bigger the sample, or the more you send, then the better we can match the colour.
STEP 5. PUT BACK SOME OF THE STAPLES
Once you have remove your piece of leather you can put the staples back in to replace the protective cloth and tidy up the edge of the leather again.
OPTION 2
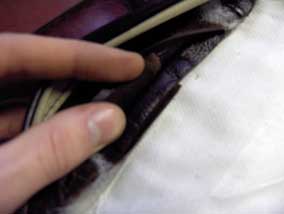
If you cannot get a sample from underneath then the next best place is from one of the cushions. Undo the zip as shown in the photo and then find where the leather is stitched together.
Where it is will be an overhang of leather. The leather here is normally thin so it is best to send us several strips.


